If you want to move your OneNote notebook to a different account or location, then look no further! You can do this using UnifiDrive. If you need to move your notebook to OneDrive for Business or Sharepoint, then OneNote for Office365 may be necessary for importing.
Prepare to Transfer the OneNote File
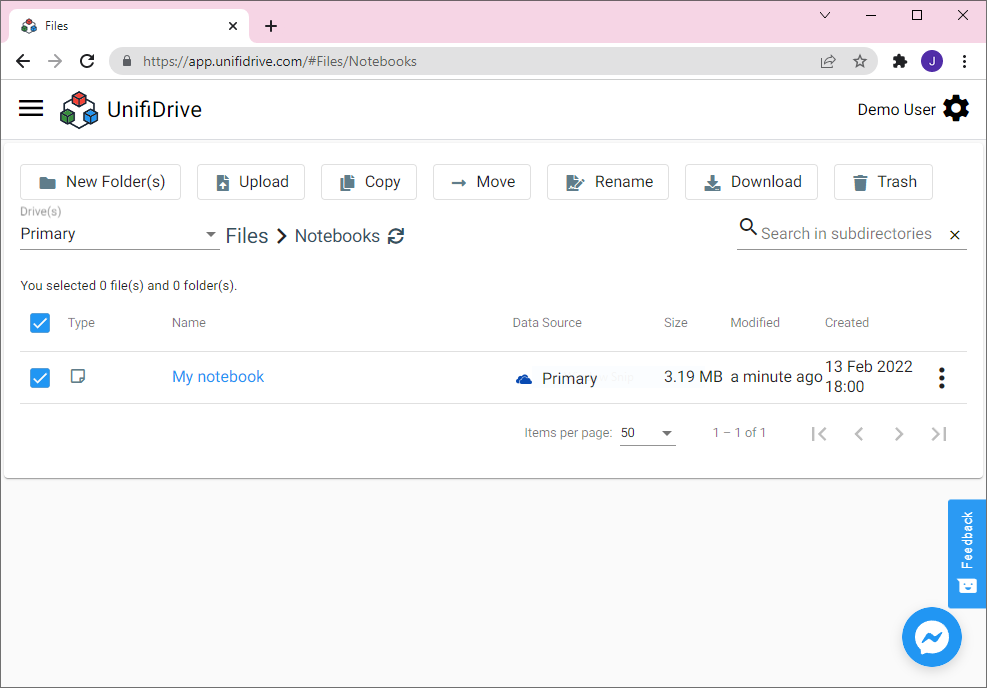
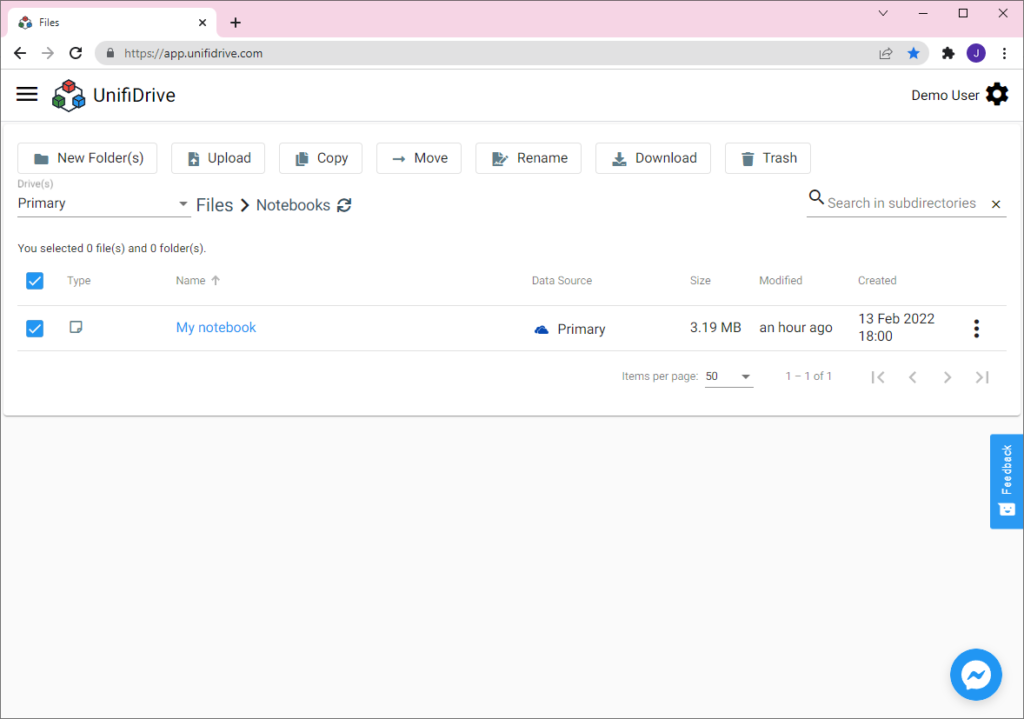
- Firstly, select your OneNote notebook file in UnifiDrive:
2. Then, click the “Move” button and select your target drive. In this example, we will move the notebook to another OneDrive for Business account.

3. Next, click the “Move here” button and then select the “View” button.

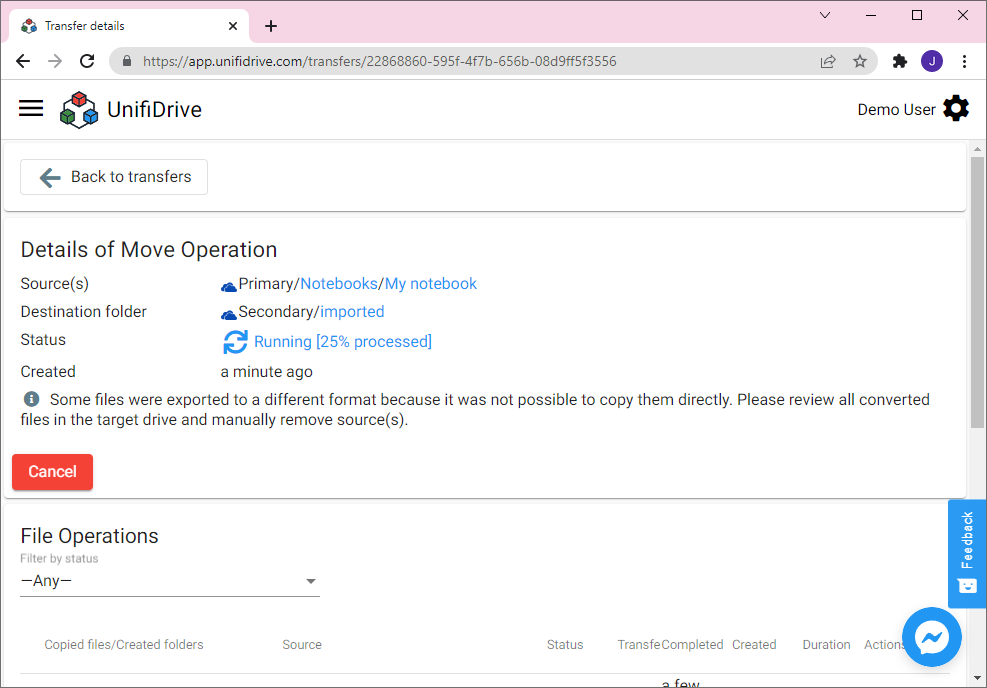
4. After starting the transfer, you can notice that the transfer is in “Running” or “Waiting” status.
Resolve a Warning
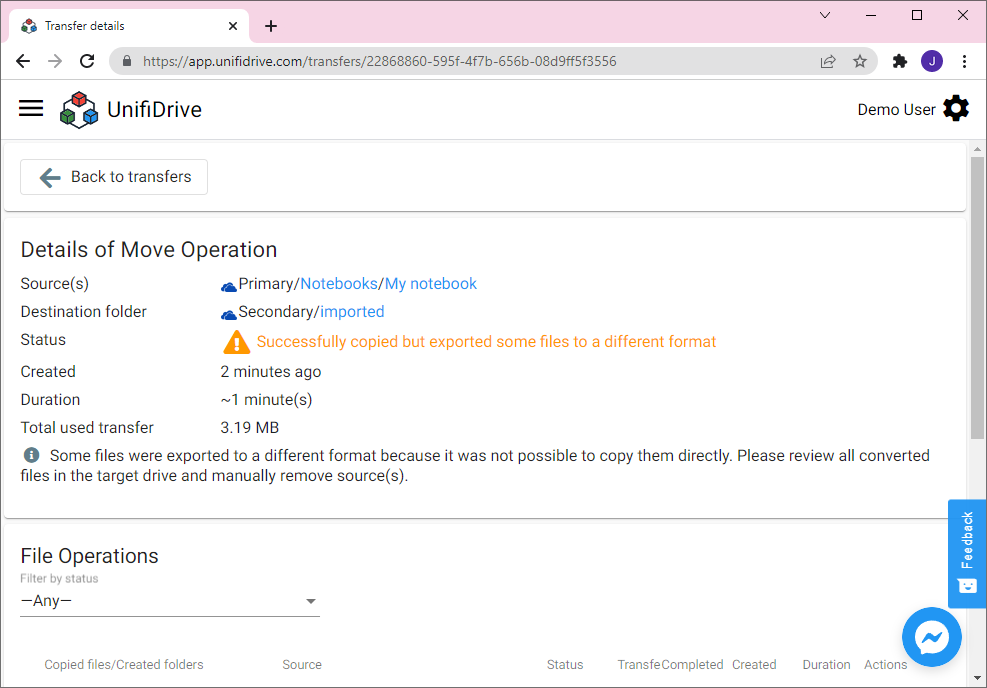
5. After waiting, you can see that the transfer is completed. However, you may also notice a warning. This warning indicates that you have to manually do something. Detailed information about which files caused a warning will be shown below on this page.
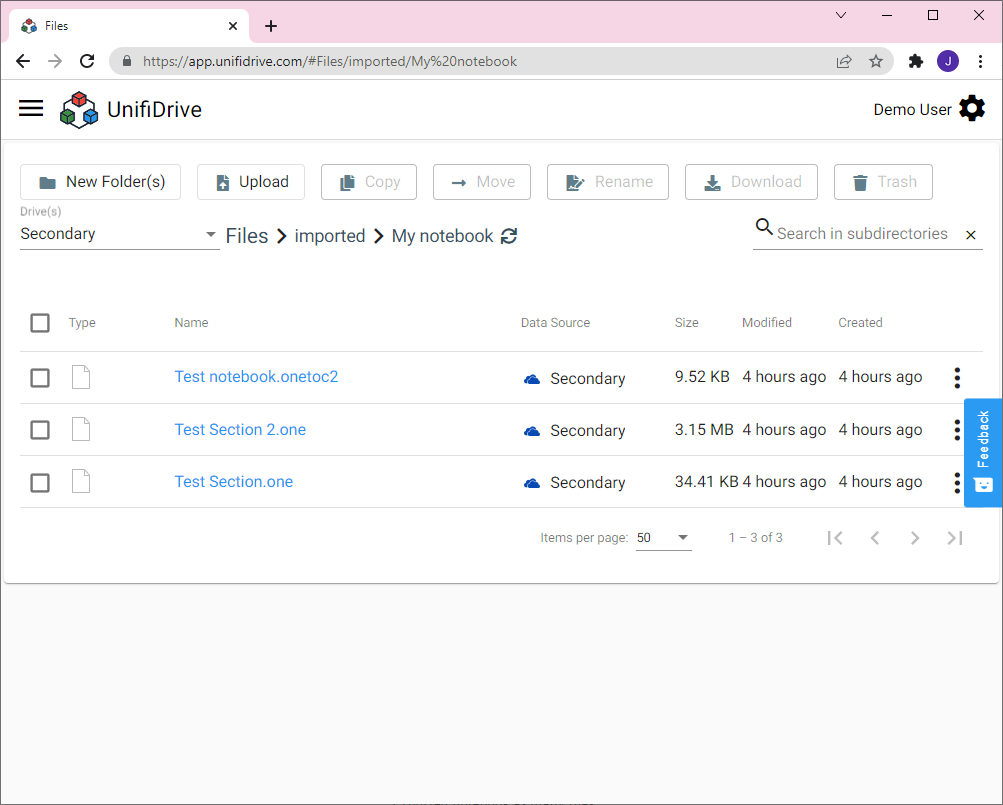
6. Scroll down until you see all file operations. There, you can see that more files were created. Moving OneNote files causes a number of files to appear. Basically, all of these files represent your OneNote notebook. If you are wondering what the “onetoc2” or “one” files are, please visit https://fileinfo.com/extension/onetoc2 or https://fileinfo.com/extension/one respectively.

7. In the target drive, we can see a folder instead of a selected notebook file. This is because your notebook’s content is exported across multiple files.
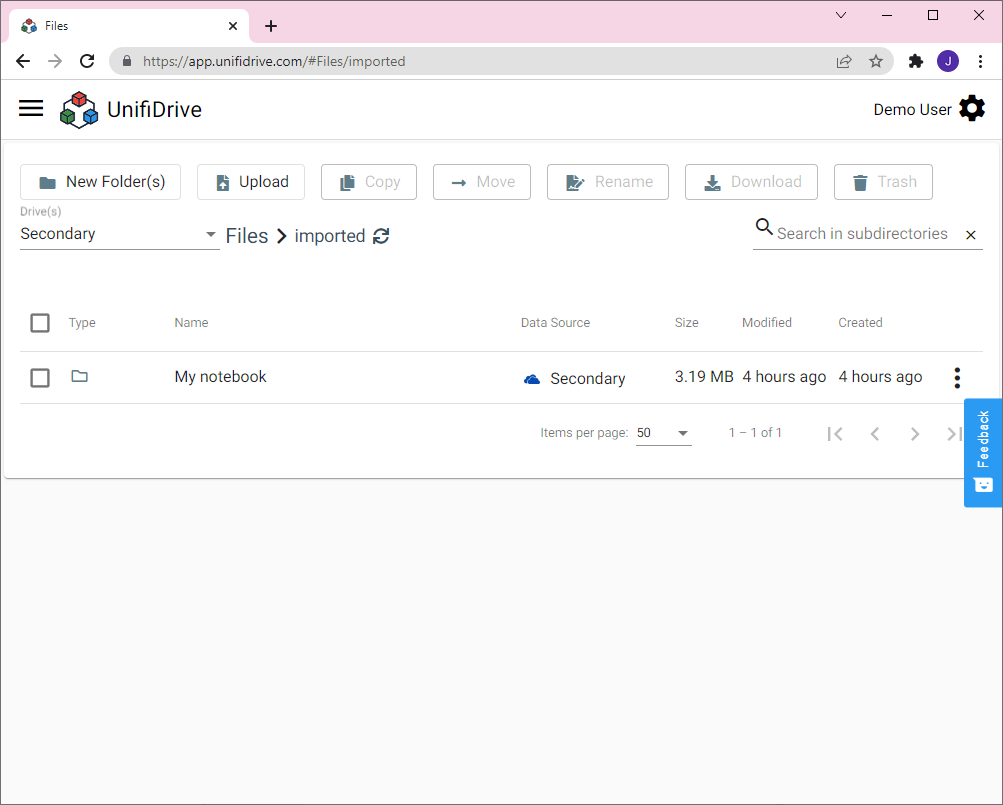
8. Thus, this folder contains your OneNote notebook structure as many files.
9. If you wish to have your OneNote notebook in OneDrive for Business, then you must download all files and open a file with the “onetoc2” extension. This will cause your OneNote to be imported on your computer.
Alternatively, if you wish to import your notebook to your personal OneNote, then go to https://www.onenote.com/notebooks/exportimport?auth=1&toImport=true and select your exported OneNote folder. This is the folder that contains your exported OneNote files (in this example, it would be titled “My notebook”). Please visit this link for more detailed instructions on importing OneNote files to your personal drive: https://support.microsoft.com/en-us/office/export-and-import-onenote-notebooks-a4b60da5-8f33-464e-b1ba-b95ce540f309?ui=en-us&rs=en-us&ad=us
If you wish to move your notebook to Google Drive or any other drive that is not OneDrive, then you must use OneNote for Office365. Saving notebook files to a different drive can be treated as a backup; you can still import them back to your OneDrive.
Remove the Remaining Sources
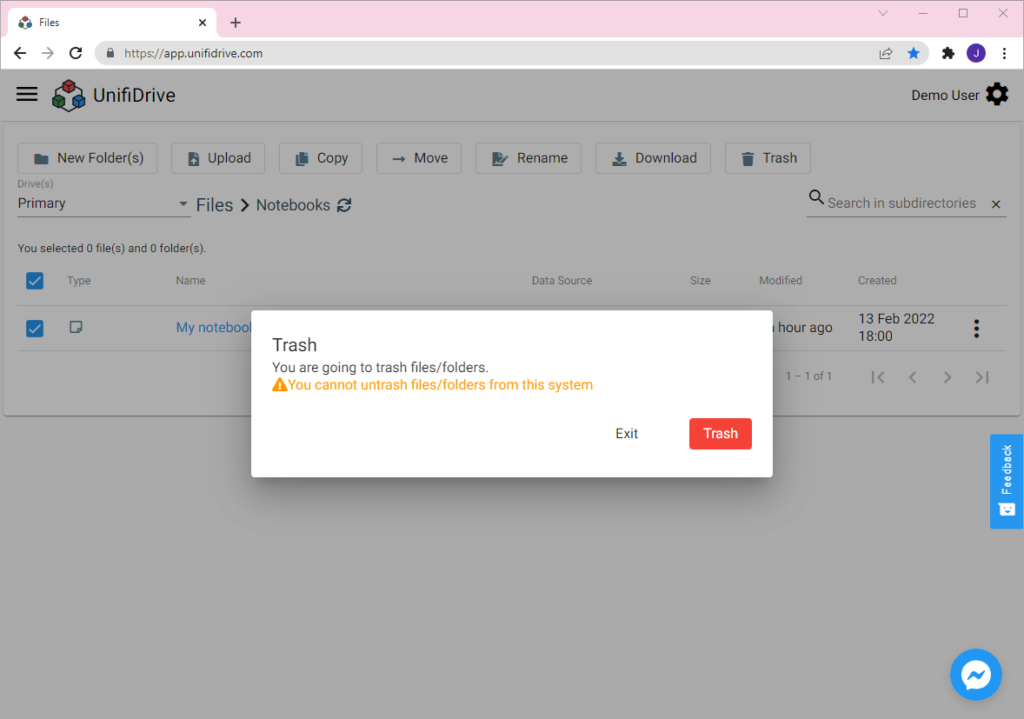
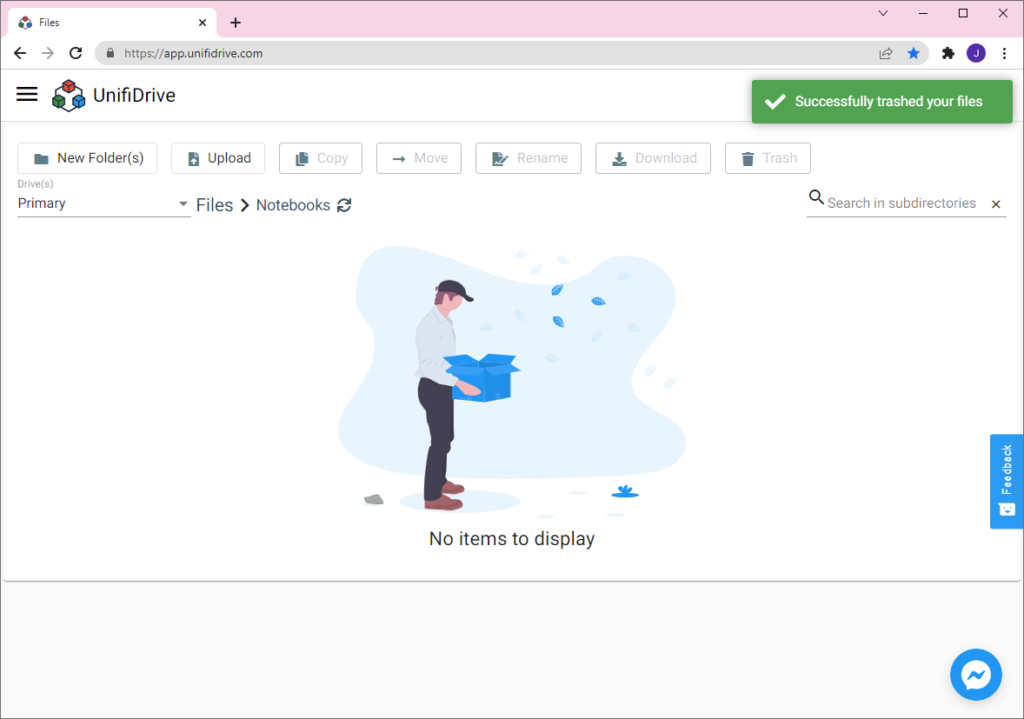
10. The last step is manually removing the source files. The application doesn’t automatically remove source files if you can’t import these files for any reason.
While importing OneNote notebooks is more complicated than plain files, we hope that this tutorial made the process clearer. If you encounter any issues, please contact team@unifidrive.com.